This weekend in preparation for some winter backcountry camping, I needed to build a pulk. This is a sled that you tow behind yourself with all your gear over the snow. I have not made one before, and the only time I towed a sled, I used just my son’s regular sled. I had just a short 1 km walk, so I wasn’t too worried about things falling off and since this was for one of my school run trips at a local conservation area, I had 20 students who could pick up after me LOL. It worked just fine, but I wanted to make one for longer trips. Hence this weekends DIY project.
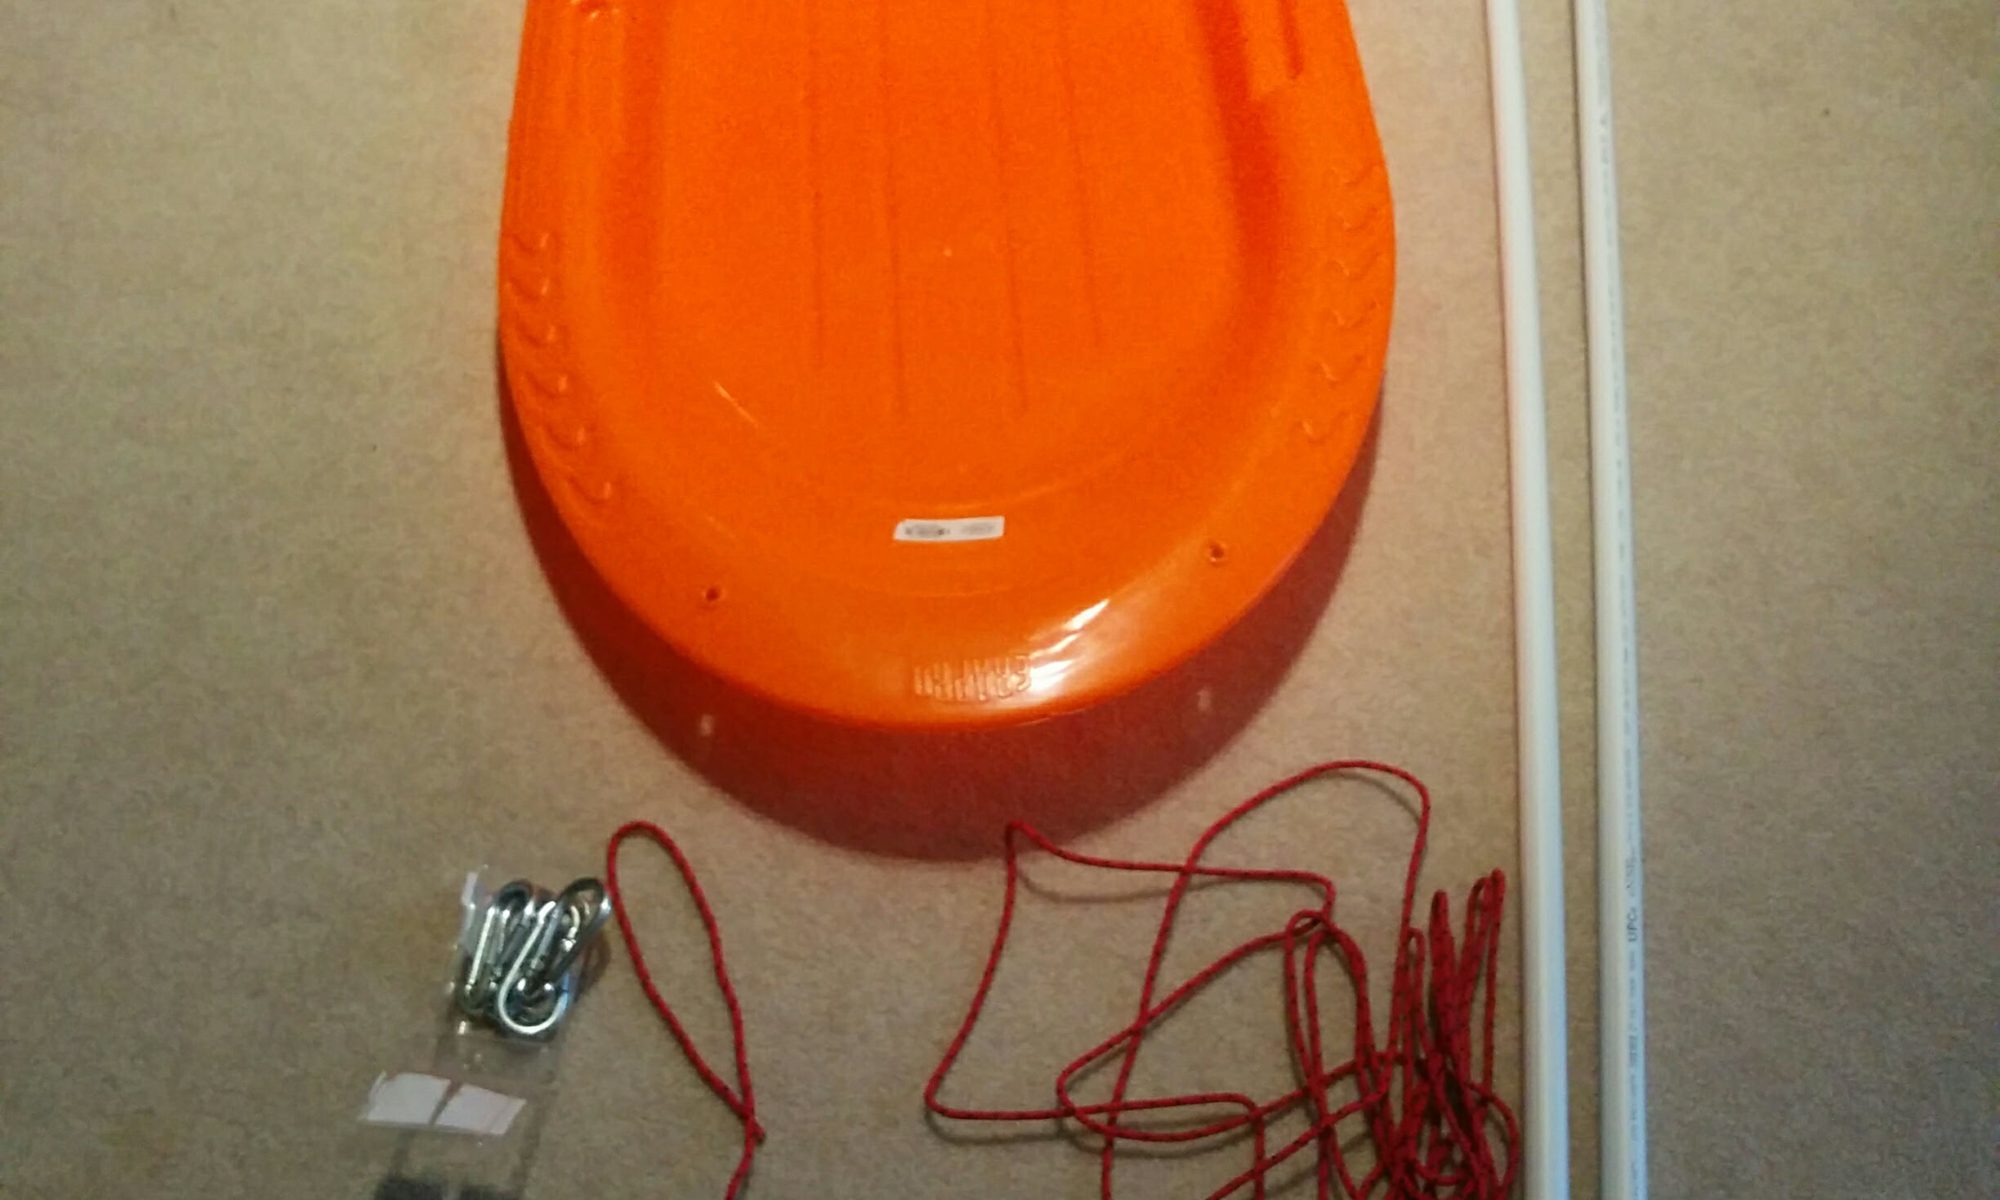
Off I went in search of the items I would need. I ended up getting the following:
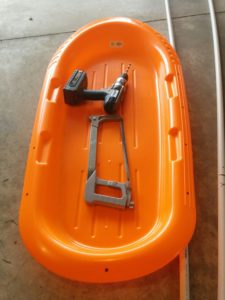
- Sled from Walmart (cost me about $13
- Two PVC poles ($7 each)
- a pack of carabiners ($10 for the pack of 5, leaving me with 1 extra)
- rope (free since I am reusing rope that we actually removed from a tall tree on a trip this summer)
- Backpack waist strap (free again! reusing from old pack)
Total cost to me was just under $40. I started laying out my materials and thought about what I would like to do. This was actually a longer process since I had the sled for a week before the poles. It gave me some time to really think about what I would like to do, and exactly how do I do it.
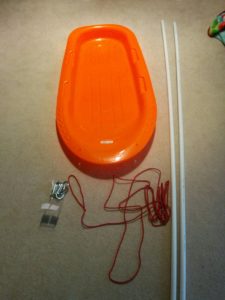
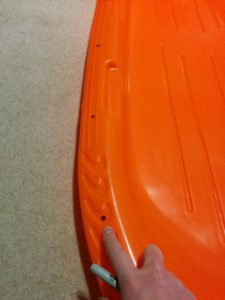
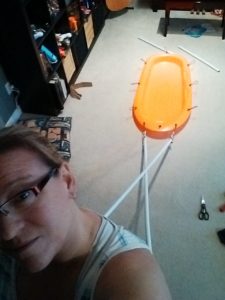
I decided to mark out holes along the edge of the sled. There are 8 on each side and one in front and on the back edge. I didn’t know if I would actually use all holes, but they are there just in case.
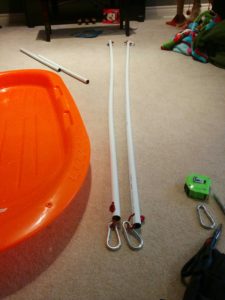
I had to then mark the poles to be cut as they were 8 feet long. Way too long! I cut them to 6 feet. I still think they are a bit long, but I will see once I take it out for a test drive.
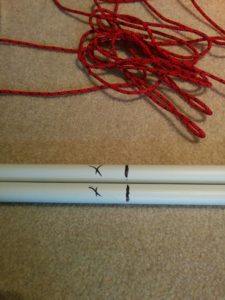
I enlisted my hubby to gather his drill and hacksaw from the basement, and set me up with the right drill bit. I believe it was a 1/4 inch hole? maybe slightly bigger? I actually have no idea. I just made the holes the same size as the one on the sled that are part of the manufactured holes for tow ropes.
In the garage I had cut the pipes, which were really easy! For some reason I was thinking this would be challenging. Then drilled holes in the poles and the sled. Again, really easy!
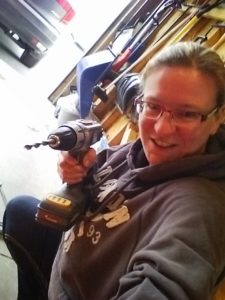
I do enjoy using power tools!!!
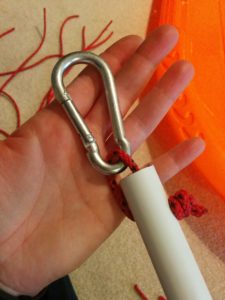
Back inside, I started the process of attaching carabiners to poles, and tying the rope to the sled.
For the rope, I wanted each hold to have its own knotted piece. That way if anything fails on the trail it would be easier to fix. In order for me to do this, I had to tie a knot on the top and bottom of the sled hole so that the rope wouldn’t fall through.
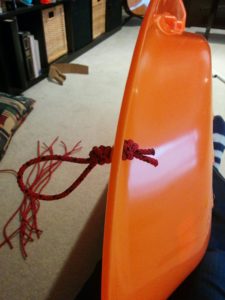
There are 4 holes not used, but I think having 3 ways to tie down my gear seems like a lot, but they are there just in case I need it.
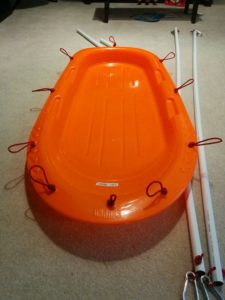
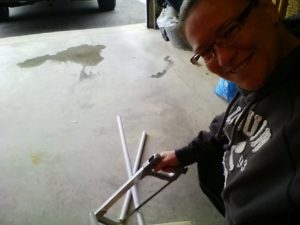
Having the poles attaching to the ropes by carabiners makes for easy packing and unpacking. Now I have to find a way to strap it to my waist. In the picture below, I’m just holding the poles in my hand.
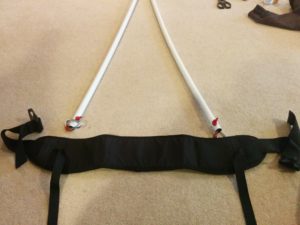
I go searching through our old gear for something, anything that I could use as a waist strap. I was hoping to use the one off of a current backpack, but there was no way to attach the poles. I dig further into my gear and find this lovely strap. It fell out of another backpack! It didn’t have a home, from what I figure, so it will now be my new waist strap for the sled.
I have to sew the straps somehow to make loops for the carabiners to attach, and in the process I broke 3 of my sewing machine needles! oops! I did manage to get them sewed, but I will need to reinforce them for sure.
This whole process took about 2 hours, and in the end I had to test it somehow….. but with no snow I couldn’t take it outside, so the next best thing was having my son hop on and walk through the house! LOL.
Nice build. Now I look forward to seeing it in use.
Thanks. I’m looking forward to testing it out.