I had said that over my March Break I would make my summer moccasins from the kit that I had bought from Lure of the North back in November. Little did I know then that I would have an extended break. That left me with ample time time to make my moccasins.
I have been wanting to get a moccasin kit for a really long time but I couldn’t decide between the winter and summer kits. But, after seeing friends use their winter moccasins I knew that where I live, we do not have the conditions that would allow me to get a lot of use out of the winter moccasins, so I decided on the summer kit.
Getting My Kit
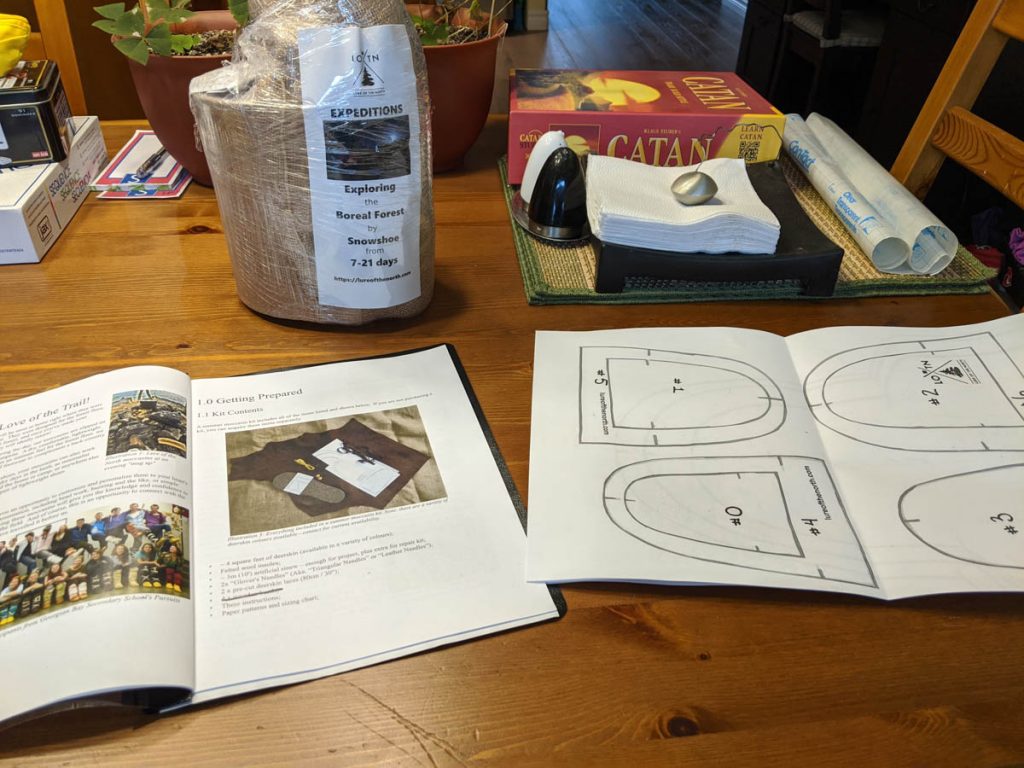
Back in November, I ordered my moccasin kit from Lure of the North and arranged to have it delivered to the Ontario Winter Camping Symposium for in person pick up – which was great because I saved shipping costs. After leaving the symposium with my kit in my hands, it ended up sitting in my basement for 4 months since the plan was to work on it over my March Break when I would have ample time since we had no travel plans this year.
Prepping My Materials
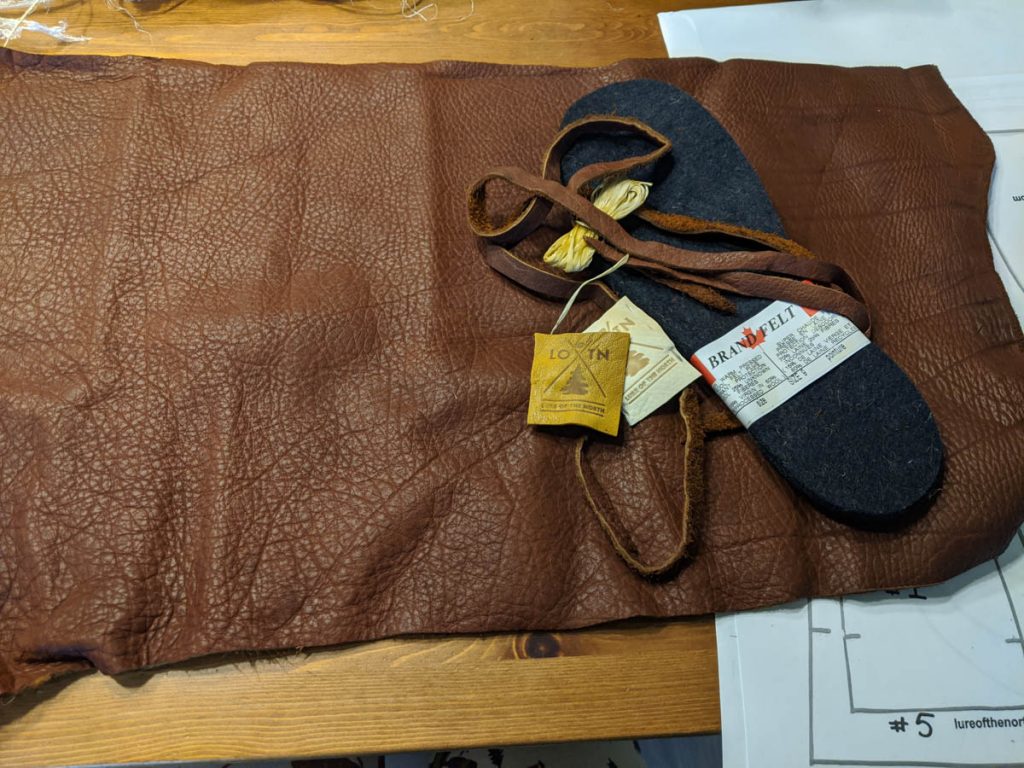
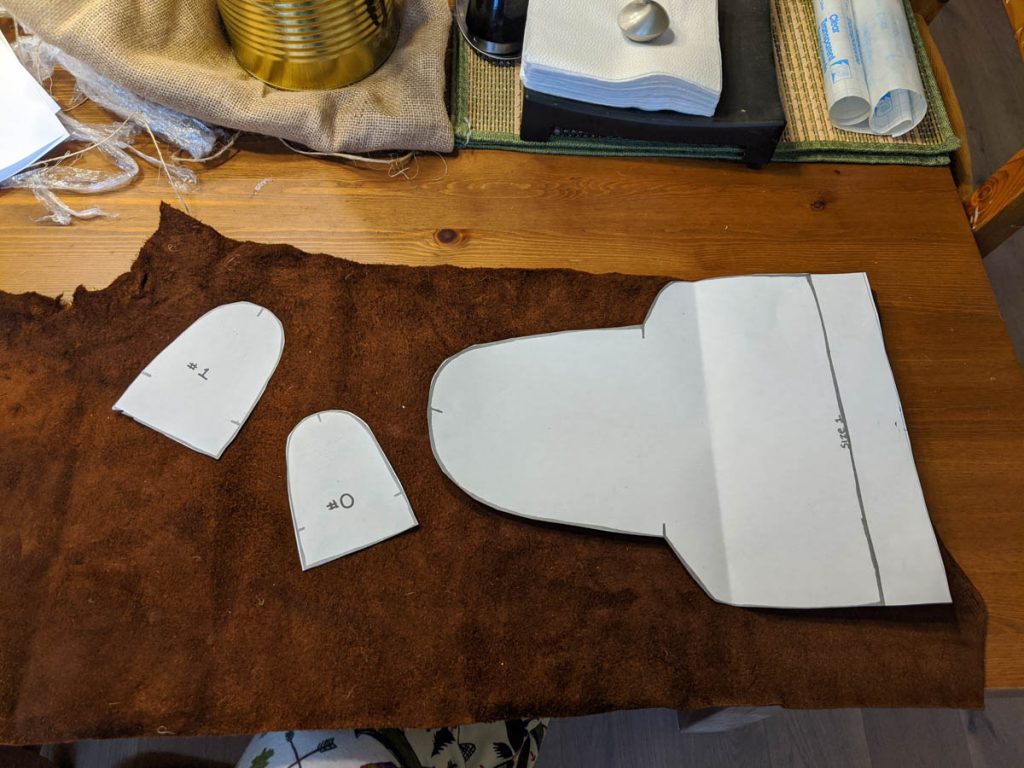
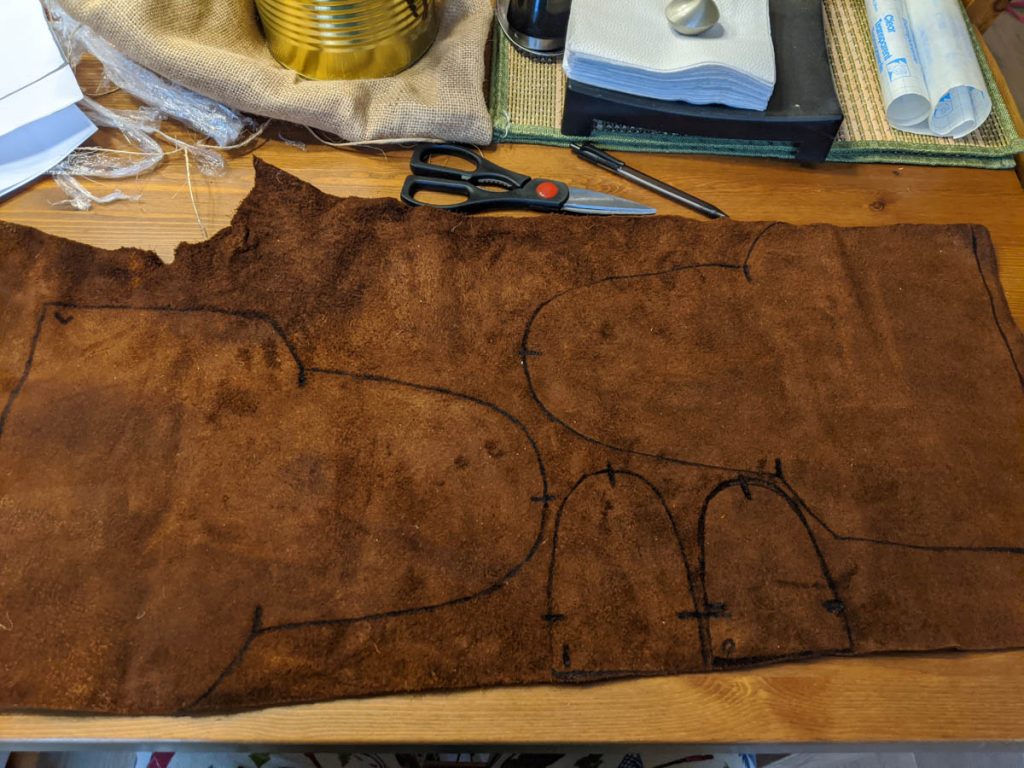
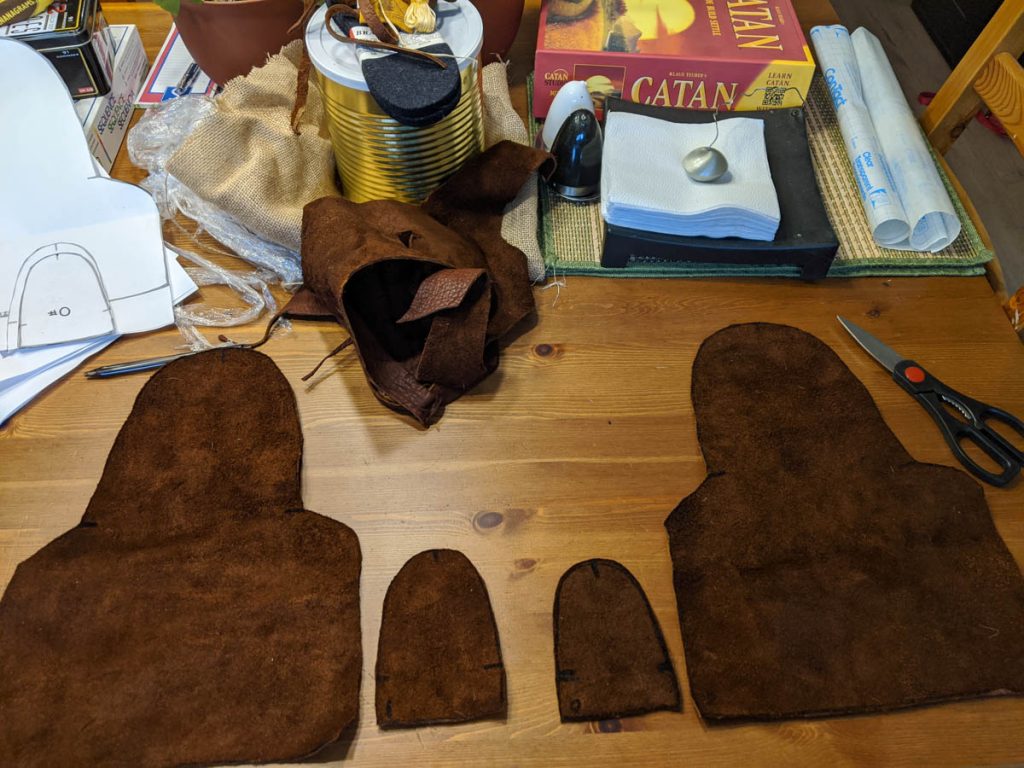
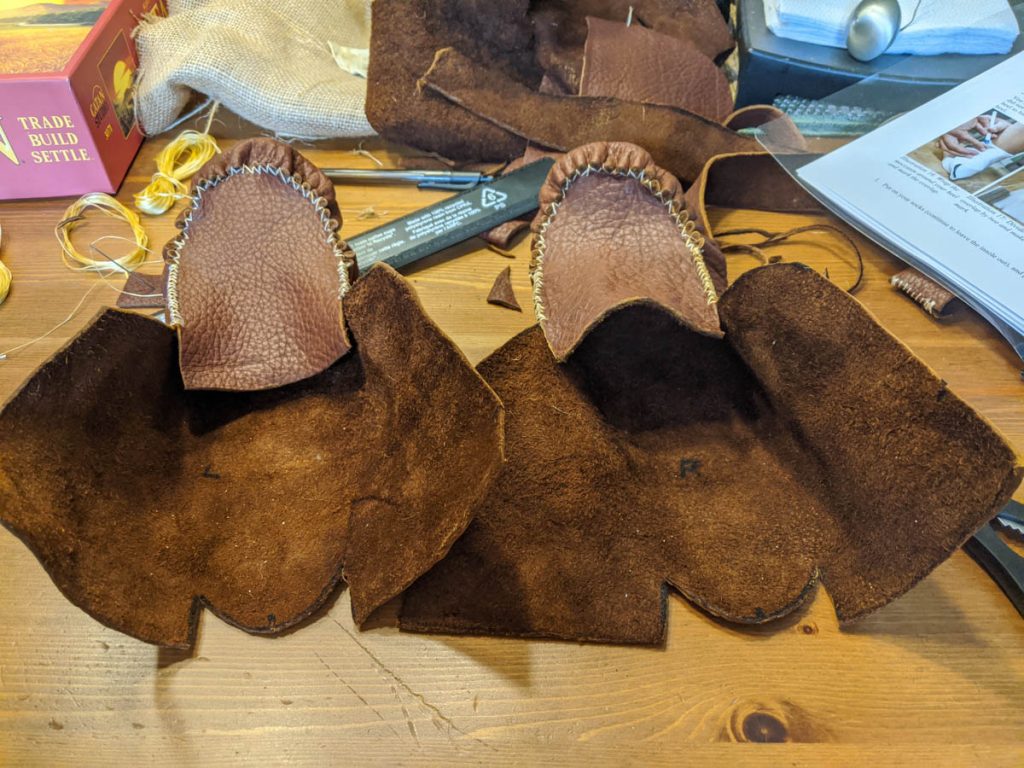
The kit came with all my materials as well as a detailed instructional booklet. I laid out all the materials, read through the instructional booklet and started the process of inspecting, measuring and cutting my materials. There are multiple pattern sizes provided and after measuring my feet, I selected the correct template for my moccasins and cut out the four pieces.
Let the Sewing Begin
As I sat with all material ready, the intricate sewing process began. There was a lot of reading, measuring, re-reading and hoping that I was doing each step correctly.
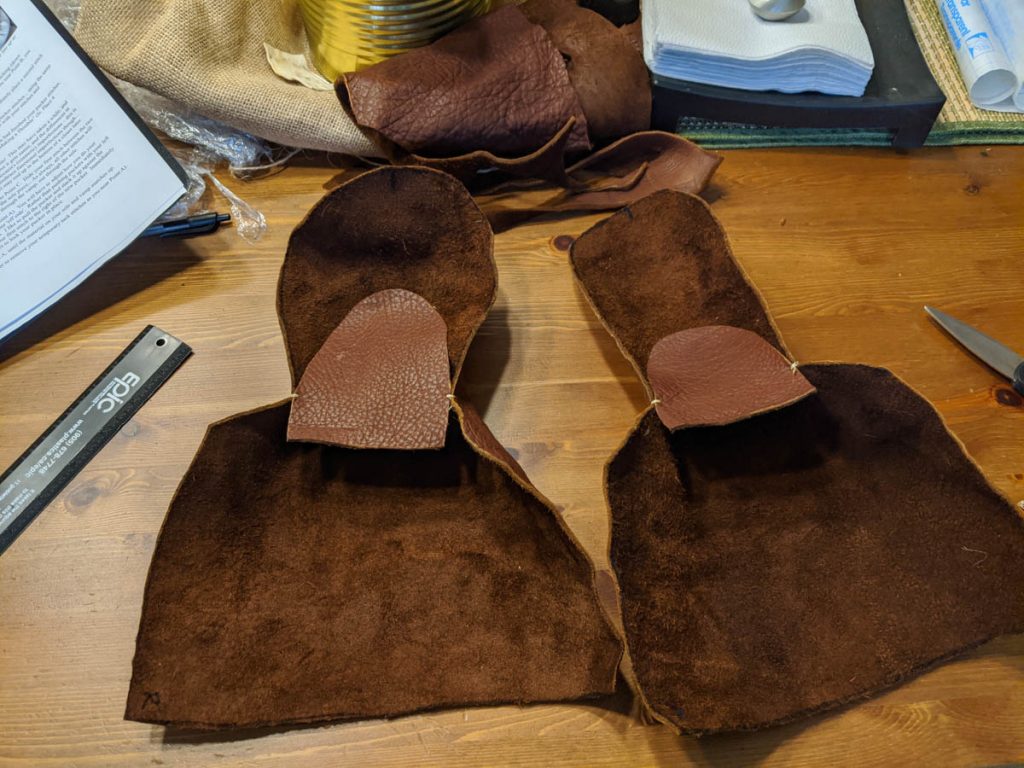
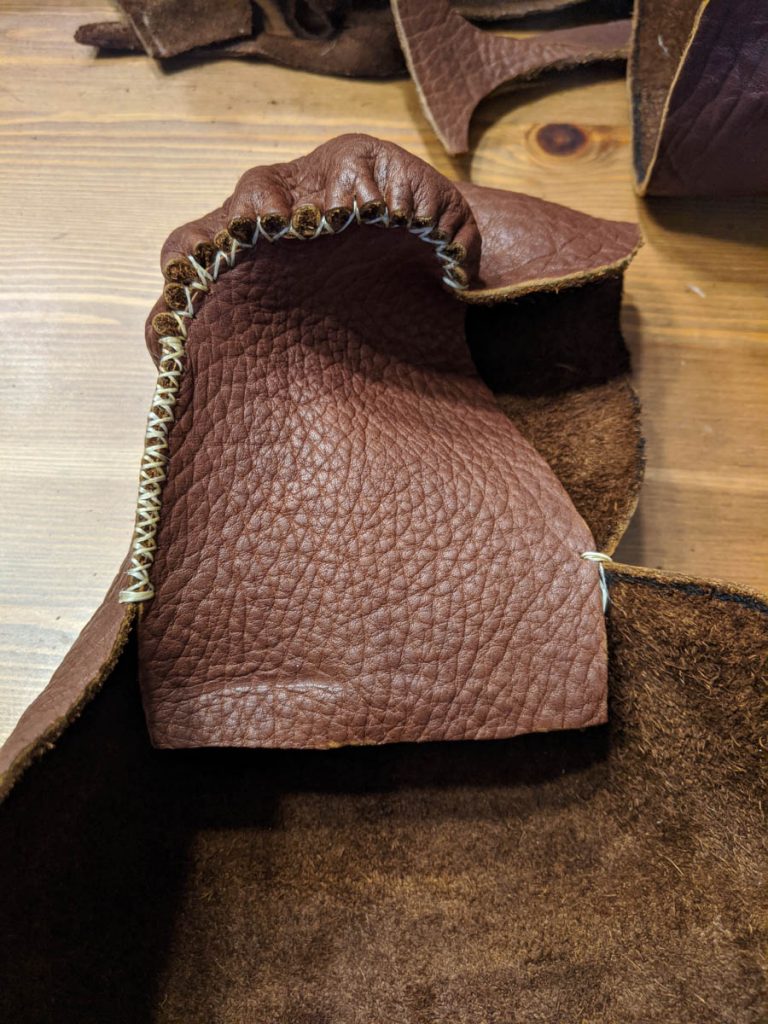
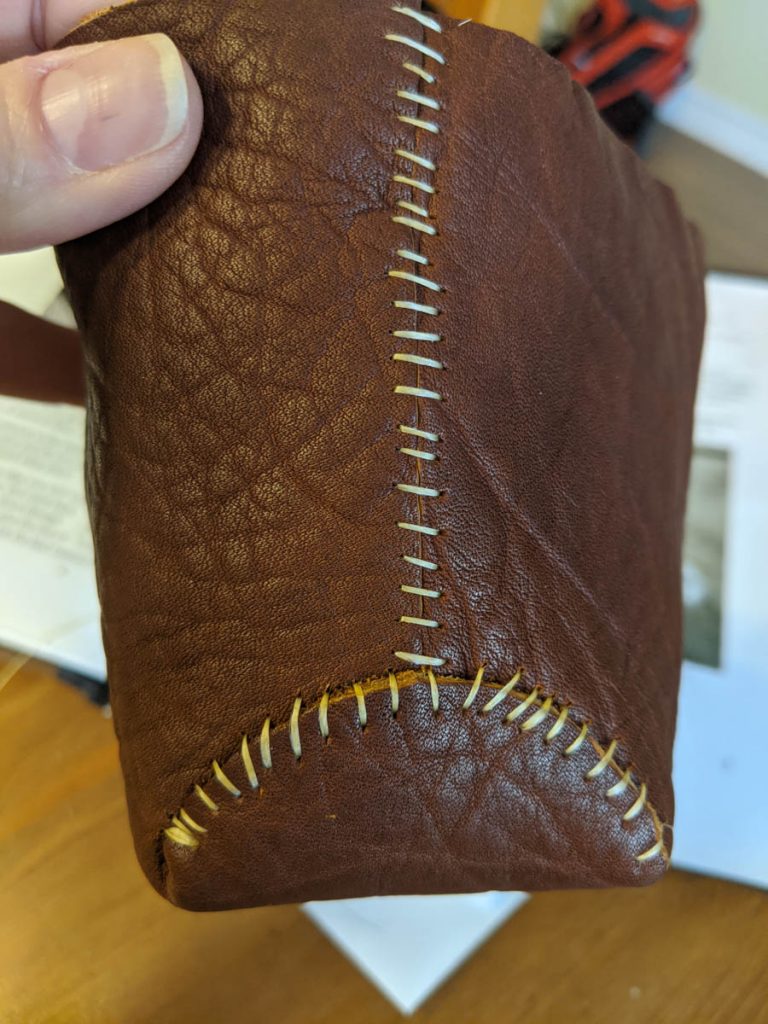
The first step was to tack the top parts of the moccasins to the bottom part. That was easy. Next came the PUCKERING part which was much more challenging and required carefully making each stitch and checking it before making the next. THEN you have to repeat going the other direction! – luckily, I am able to use both my right (dominant) and left hand for certain crafts, so I was able to switch hands when doing the second half.
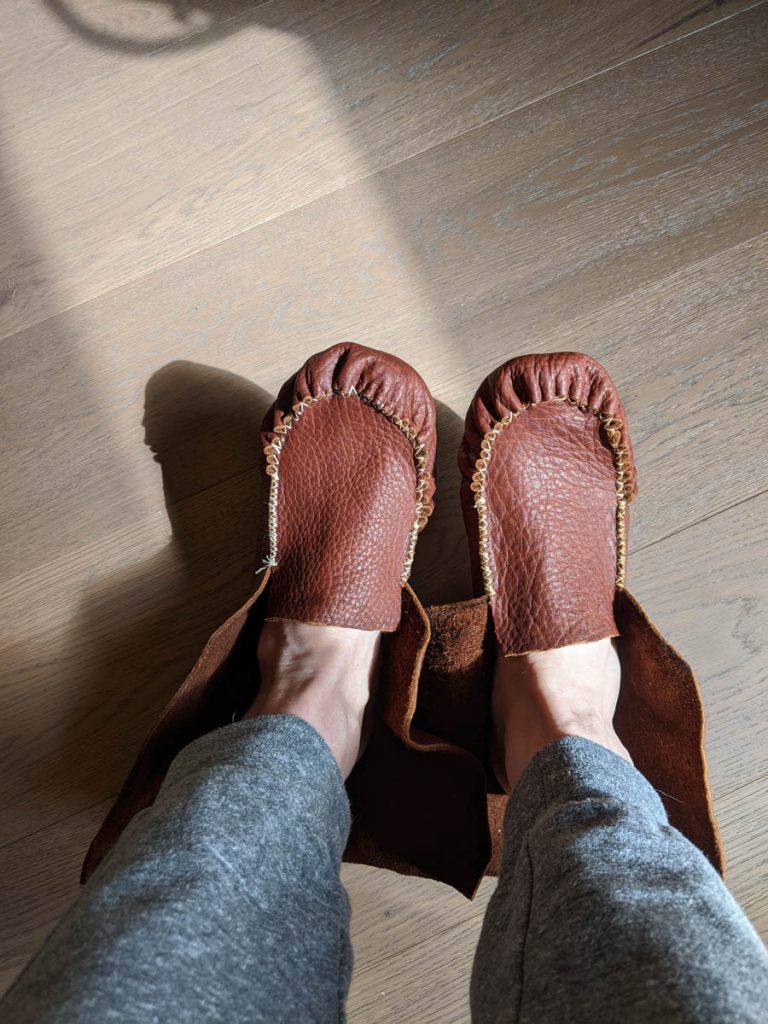
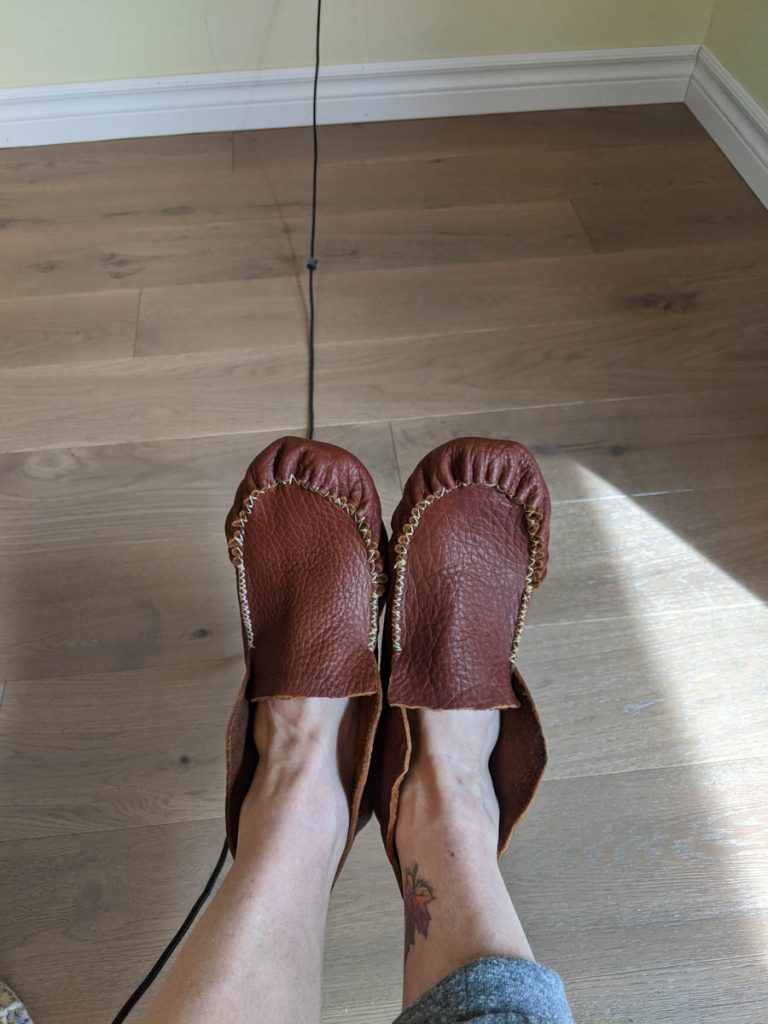
I had completed one moccasin and continued to the other. I tried them on my feet and found that I noticed a difference in the sewing pattern and fit, so picked out a left and right foot. To make it easier for future reference I marked an L and R on the inside. Eventually I will add some details on the moccasins to help distinguish one from the other.
Finishing the Back
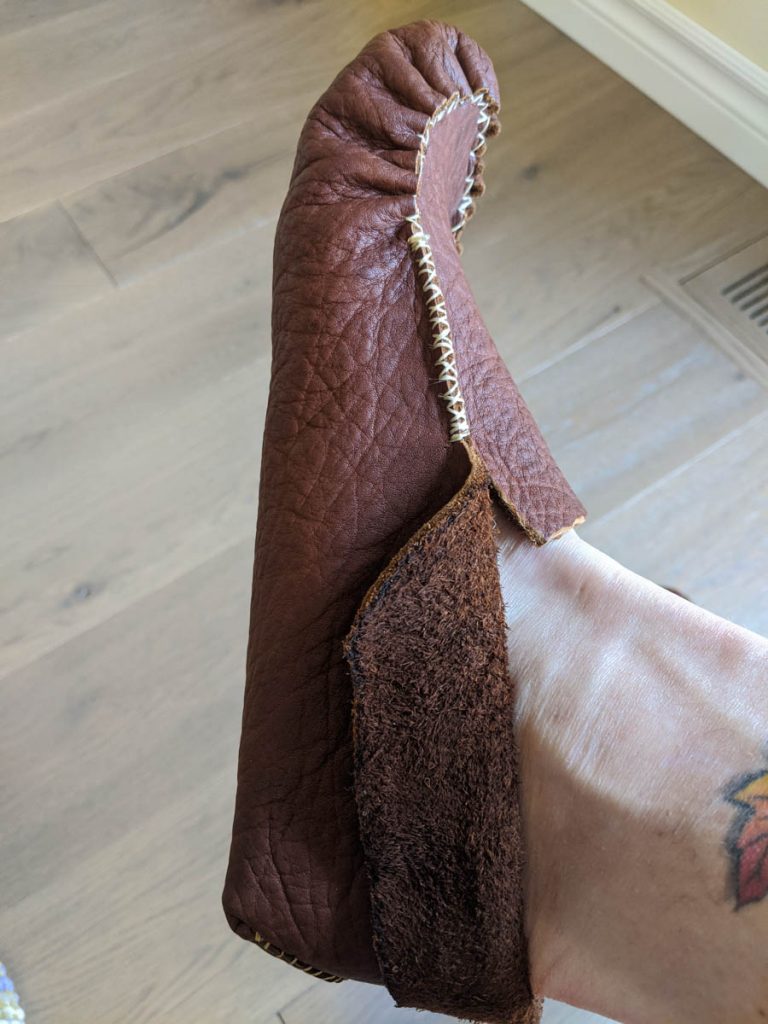
The back part of the moccasins were much easier to sew as it was a simple whip stitch. I added the holes for the laces and will enjoy wearing these around the house until camping begins.
There is a rubber sole kit that will need to be added to my moccasins, however, this kit involved some really smelly glue, so I will be waiting until the weather warms up enough to do that work.
If you ever want a summer or winter moccasin kit, I would highly recommend checking out Lure of the North.
Please leave a comment below if you have ever made yourself moccasins as I would love to hear about it.

I made winter moccasins for my wife and I using the Lure of the North kits, which I also picked up at the same Ontario Winter Camping Symposium. They turned out better than I expected and they are the warmest and comfiest winter footwear I’ve ever tried.
So, I’m keen to try the summer moccasins as well while we are all in lockdown. Thanks for the inspiration.
– PineMartyn
I really wish I had the conditions for the winter ones, but with the salt on the roads here they wouldn’t last long until they got salt issues.